Table of contents
OVERVIEW
In this tutorial we are going to learn:
- What is CyberConnect and its main features.
- Core concepts and protocol of CyberConnect.
- Building SBT/NFT Issuing App
INTRODUCTION
What is CyberConnect?
CyberConnect is a decentralized social graph protocol that helps Web3 applications bootstrap network effects. It empowers users to truly own their social identities, contents, and connections in a social network and provides developers with a rich set of tools to build applications with meaningful social experiences.
Build with CyberConnect
Blogging with crowdfunding
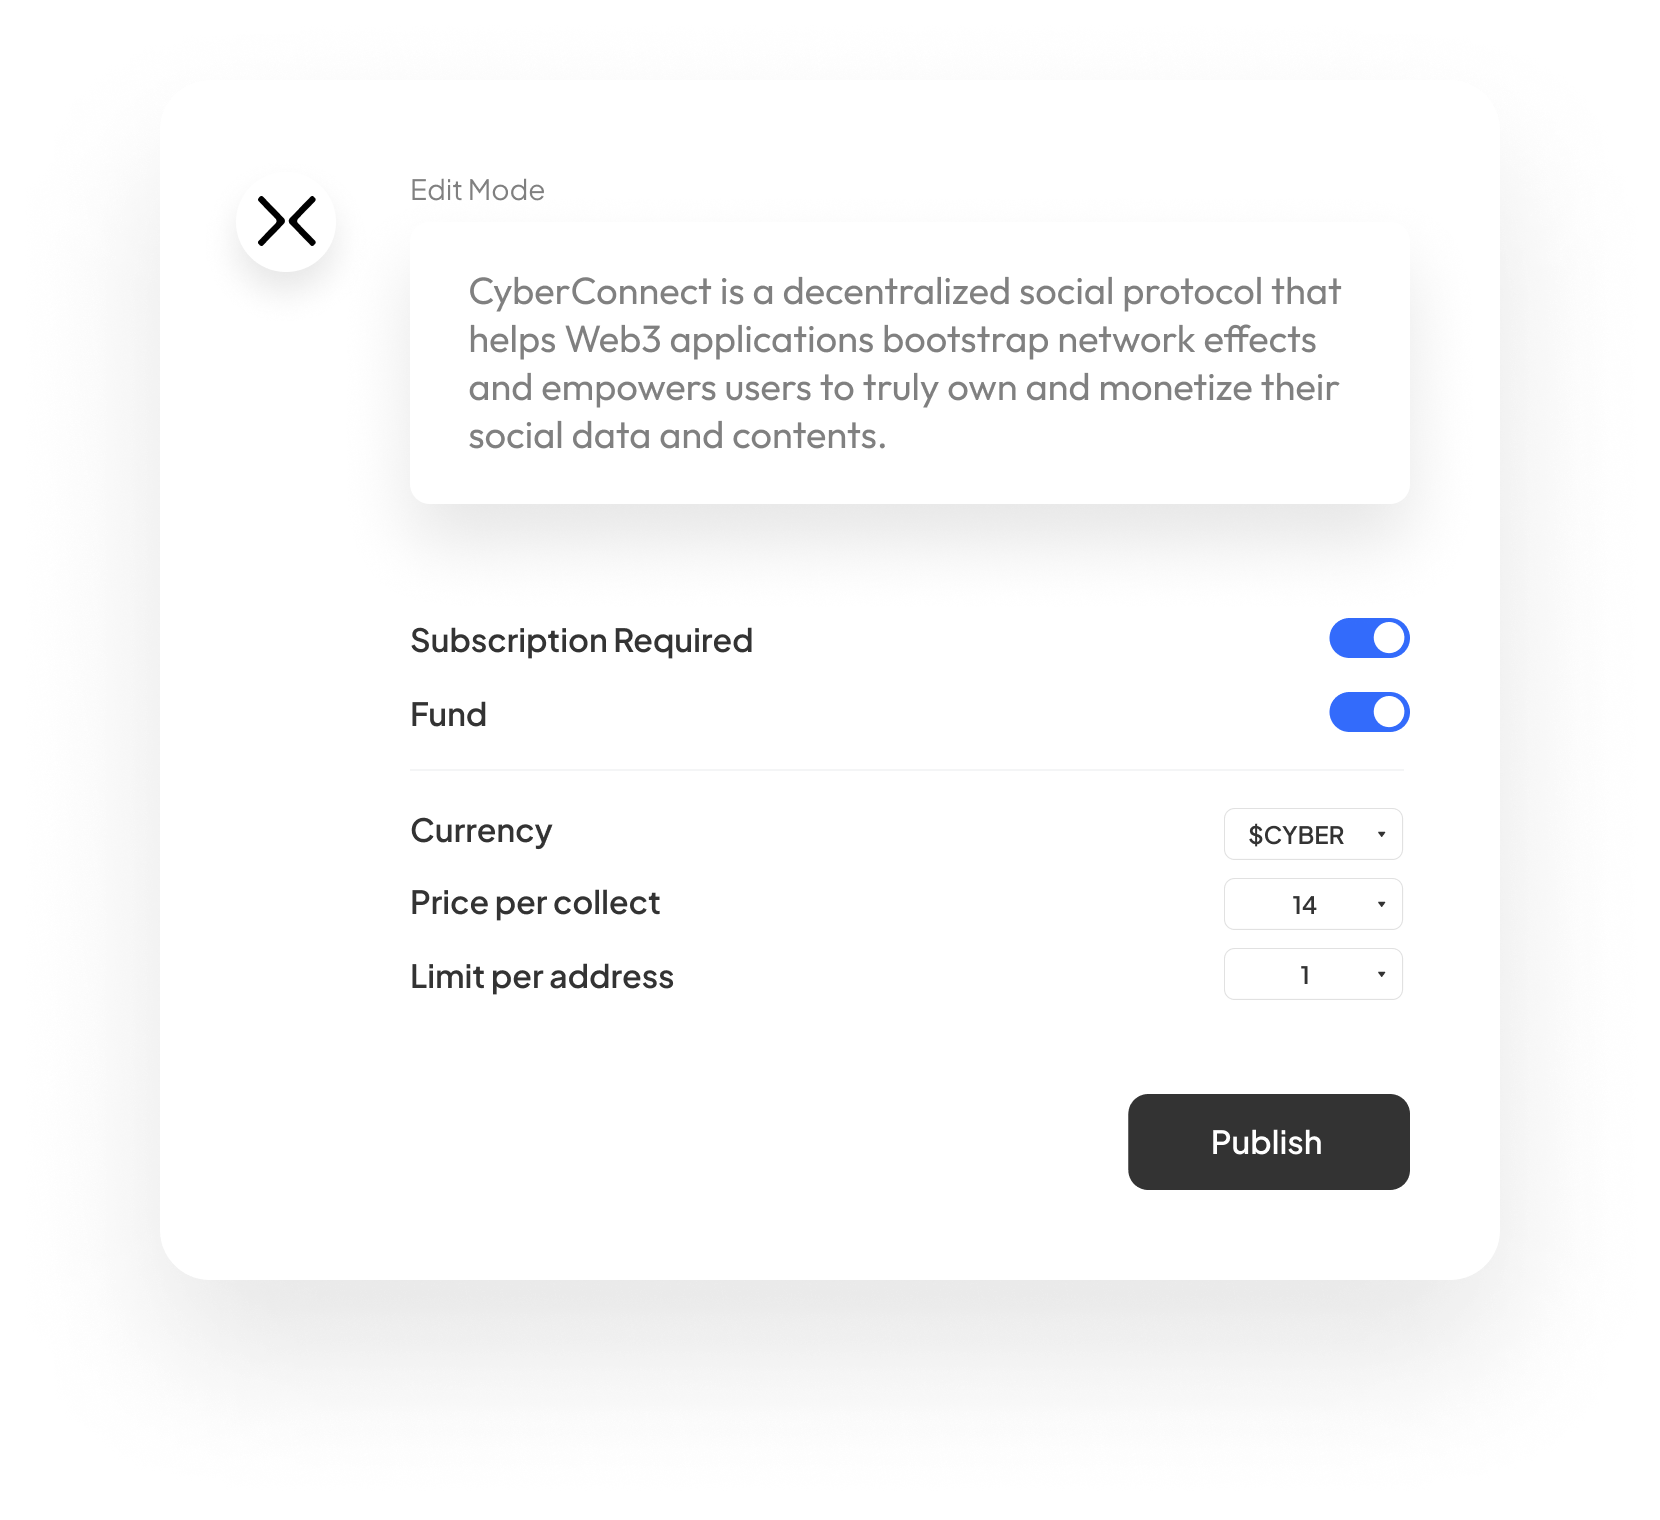
Developers can build social dApp with CyberConnect protocol to store and manage users’ social data such as profiles, posts, and content in a decentralized manner. Also, users can publish their data in NFT format on a chosen blockchain for monetization purposes. For example, the content creator can publish 100 editions for their blog with a price of 14 $CYBER tokens per edition and only allow their subscriber to collect such content NFT.
SBT/NFT issuing platform
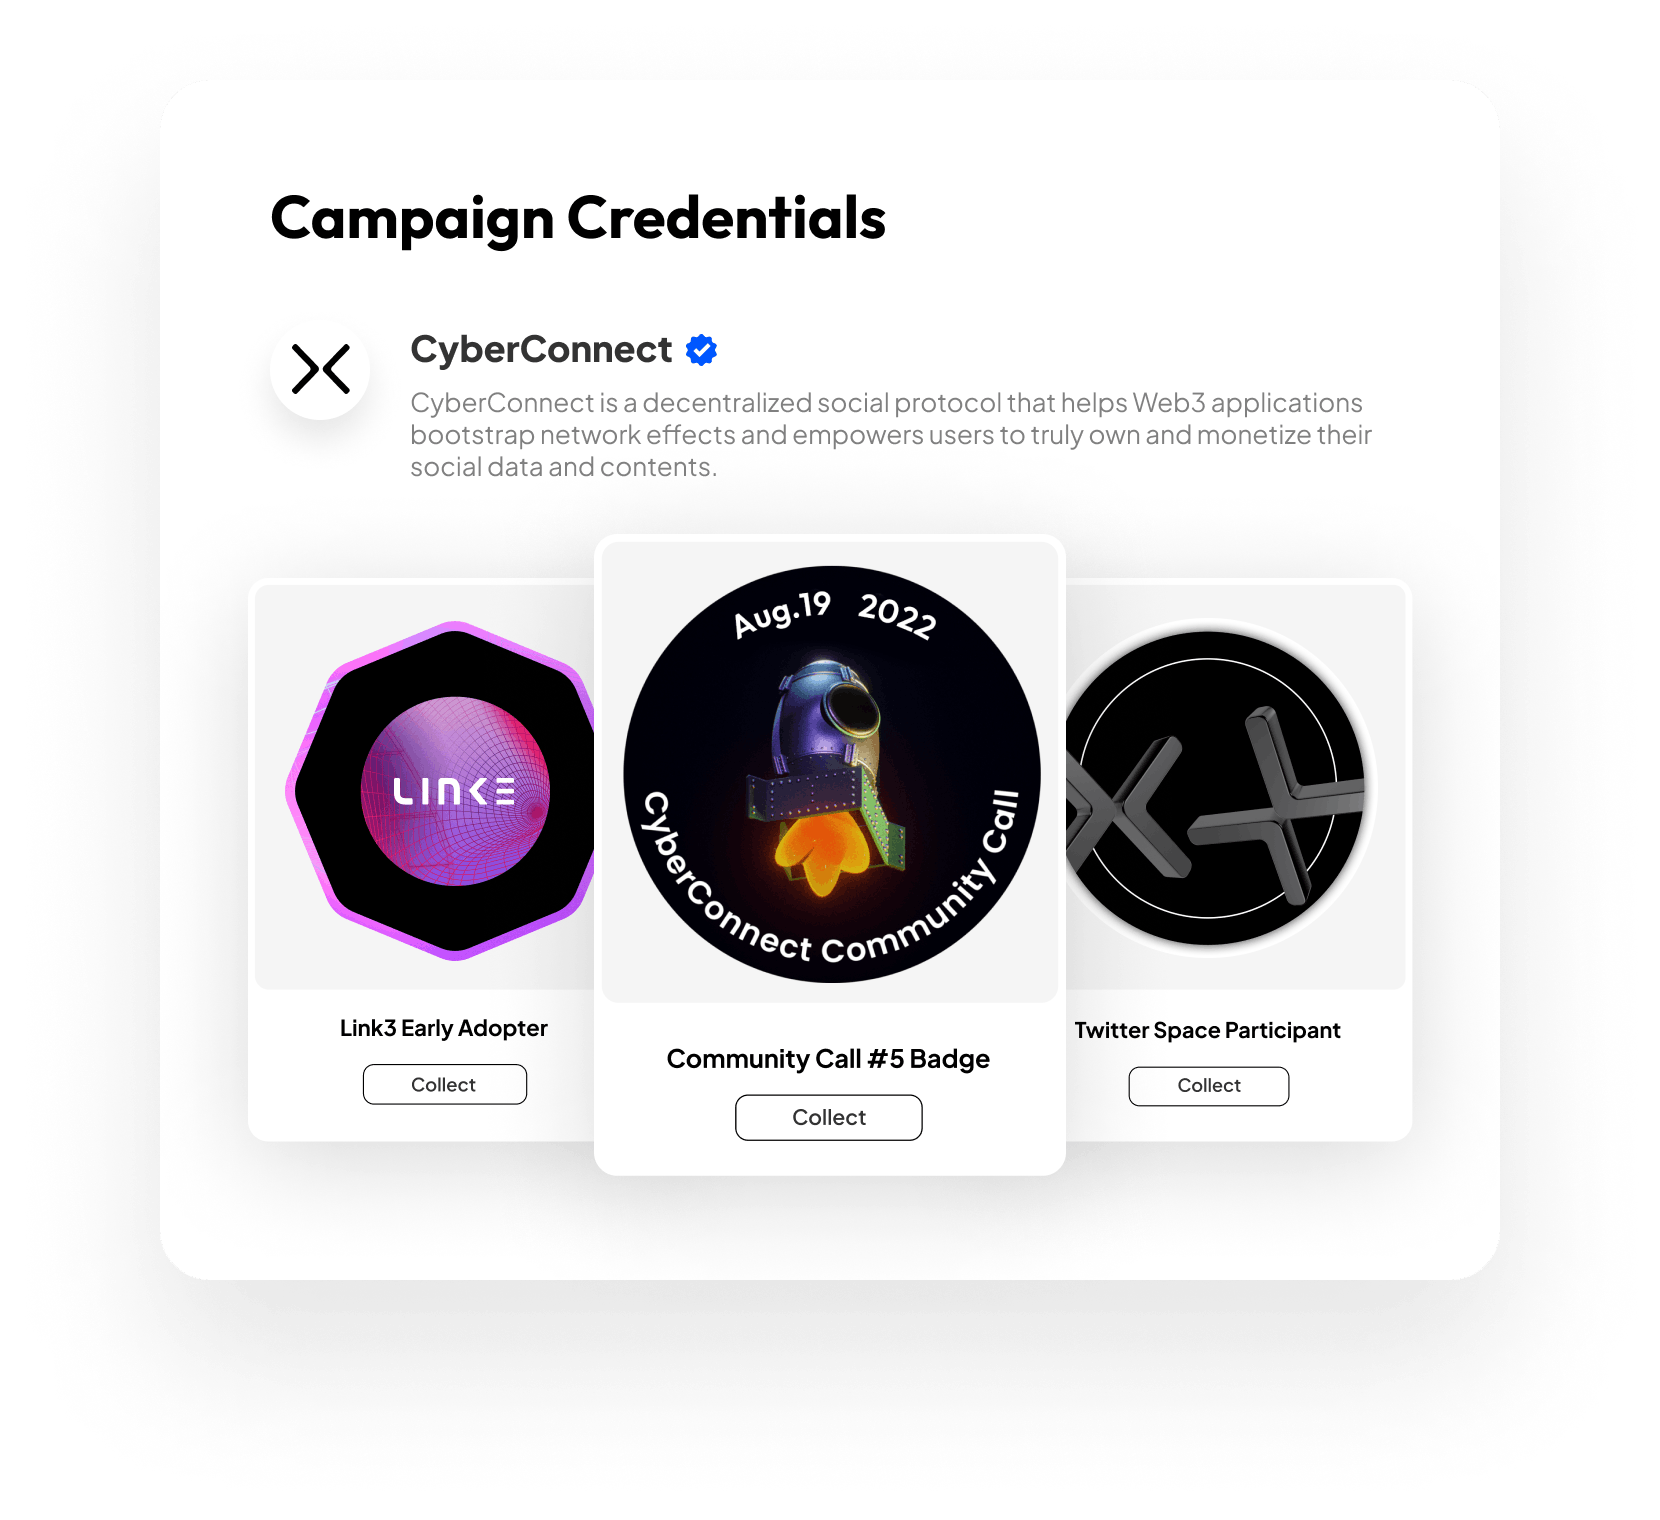
Utilizing airdrops and tokens to attract early adopters, convert them to contributors and retain them through rewards like badges is a popular and proven practice among top Web3 projects. The protocol enables communities to build large audiences with social data that lives on CyberConnect as ERC-721 NFTs. Community tooling applications use CyberConnect to power community profiles and reward members to participate in activities with badges issued through the protocol.
And we will be building an SBT/NFT Issuing App in this tutorial.
Recommendation
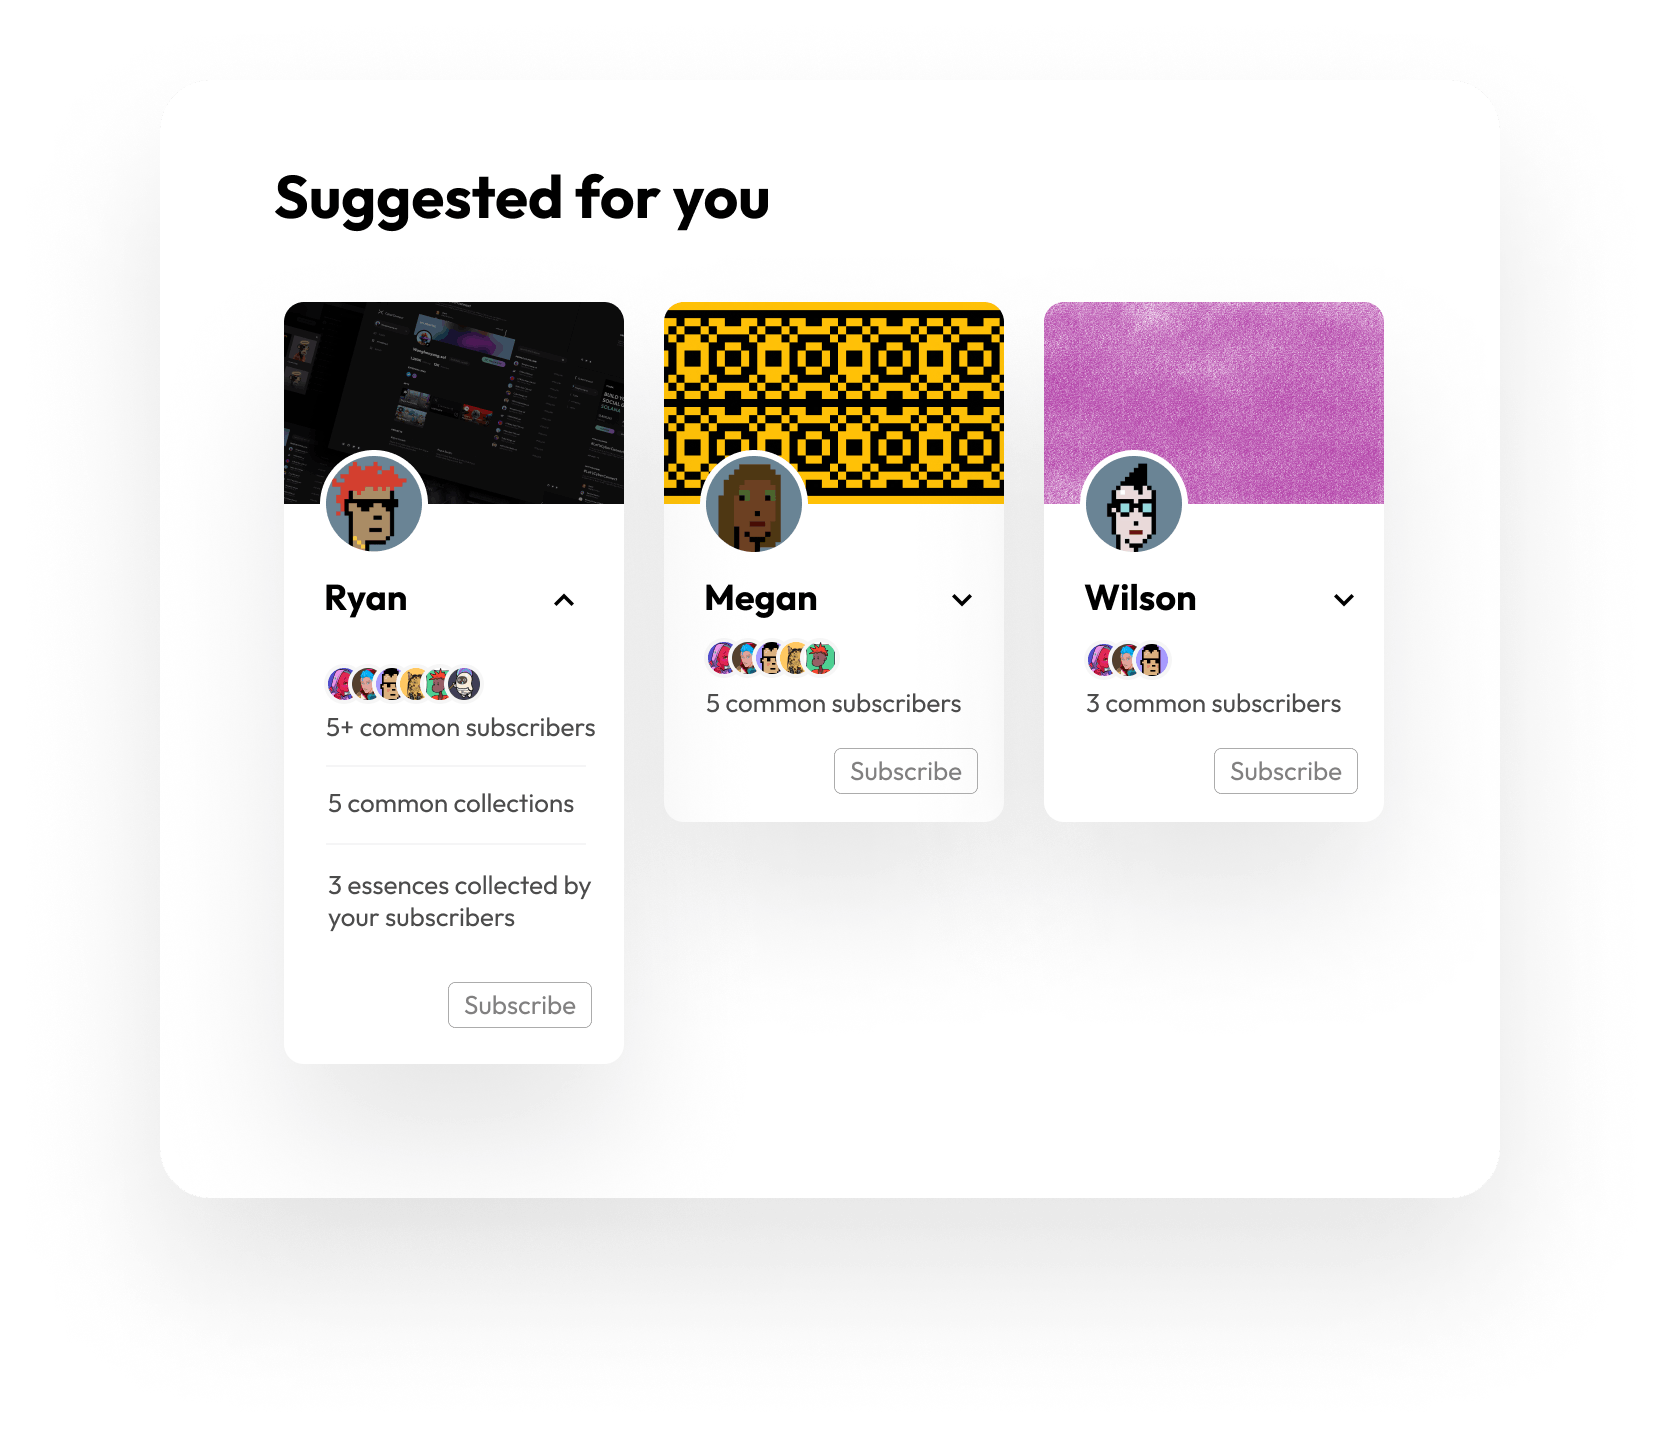
Developers can utilize CyberConnect to get interesting recommendation data when they build their social dApp. For example, the protocol can generate a list of recommended people to follow based on users’ relationships and social data from both off-chain and on-chain sources. Also, a list of recommended tokens to purchase can be generated based on modeling trading behavior & holdings relative to other addresses (i.e. collaborative filtering model).
CONCEPT
Now let's understand CyberConnect concepts and it's main features to get an idea of what it would look like building on CyberConnect protocol.
Schema
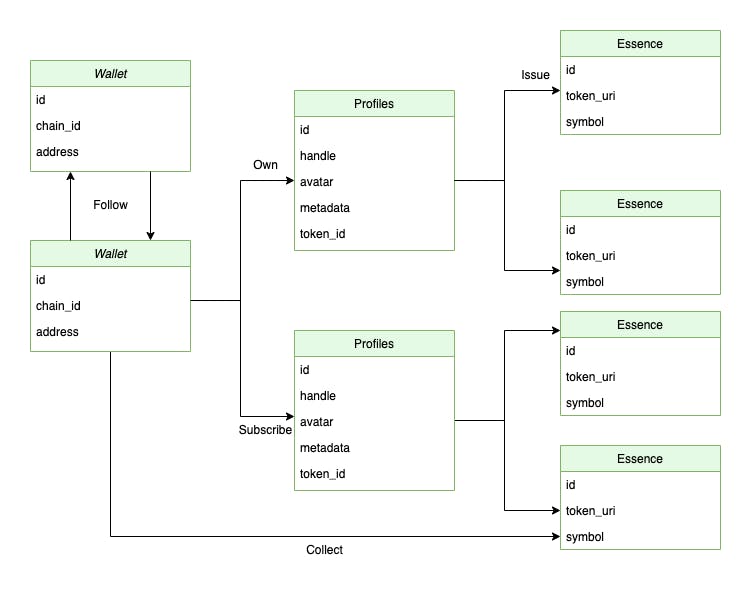
CyberConnect has the indexed data schema designed as below that represents social relationships on Link3. You can find the more detailed gql schema on our API Playground and query subfields that all start from the
wallet
address.
Identity
User-generated social profiles and on-chain address-related data that form the user’s decentralized identity. Whether it’s an NFT, an ENS name, a Twitter handle, or a DID, we map all of them to one holistic identity. In CyberConnect’s infrastructure, an identity is currently manifested thru either an address or a profile.
Users can bring their already familiar EVM addresses to CyberConnect and create new social data on applications built with CyberConnect.
Profile
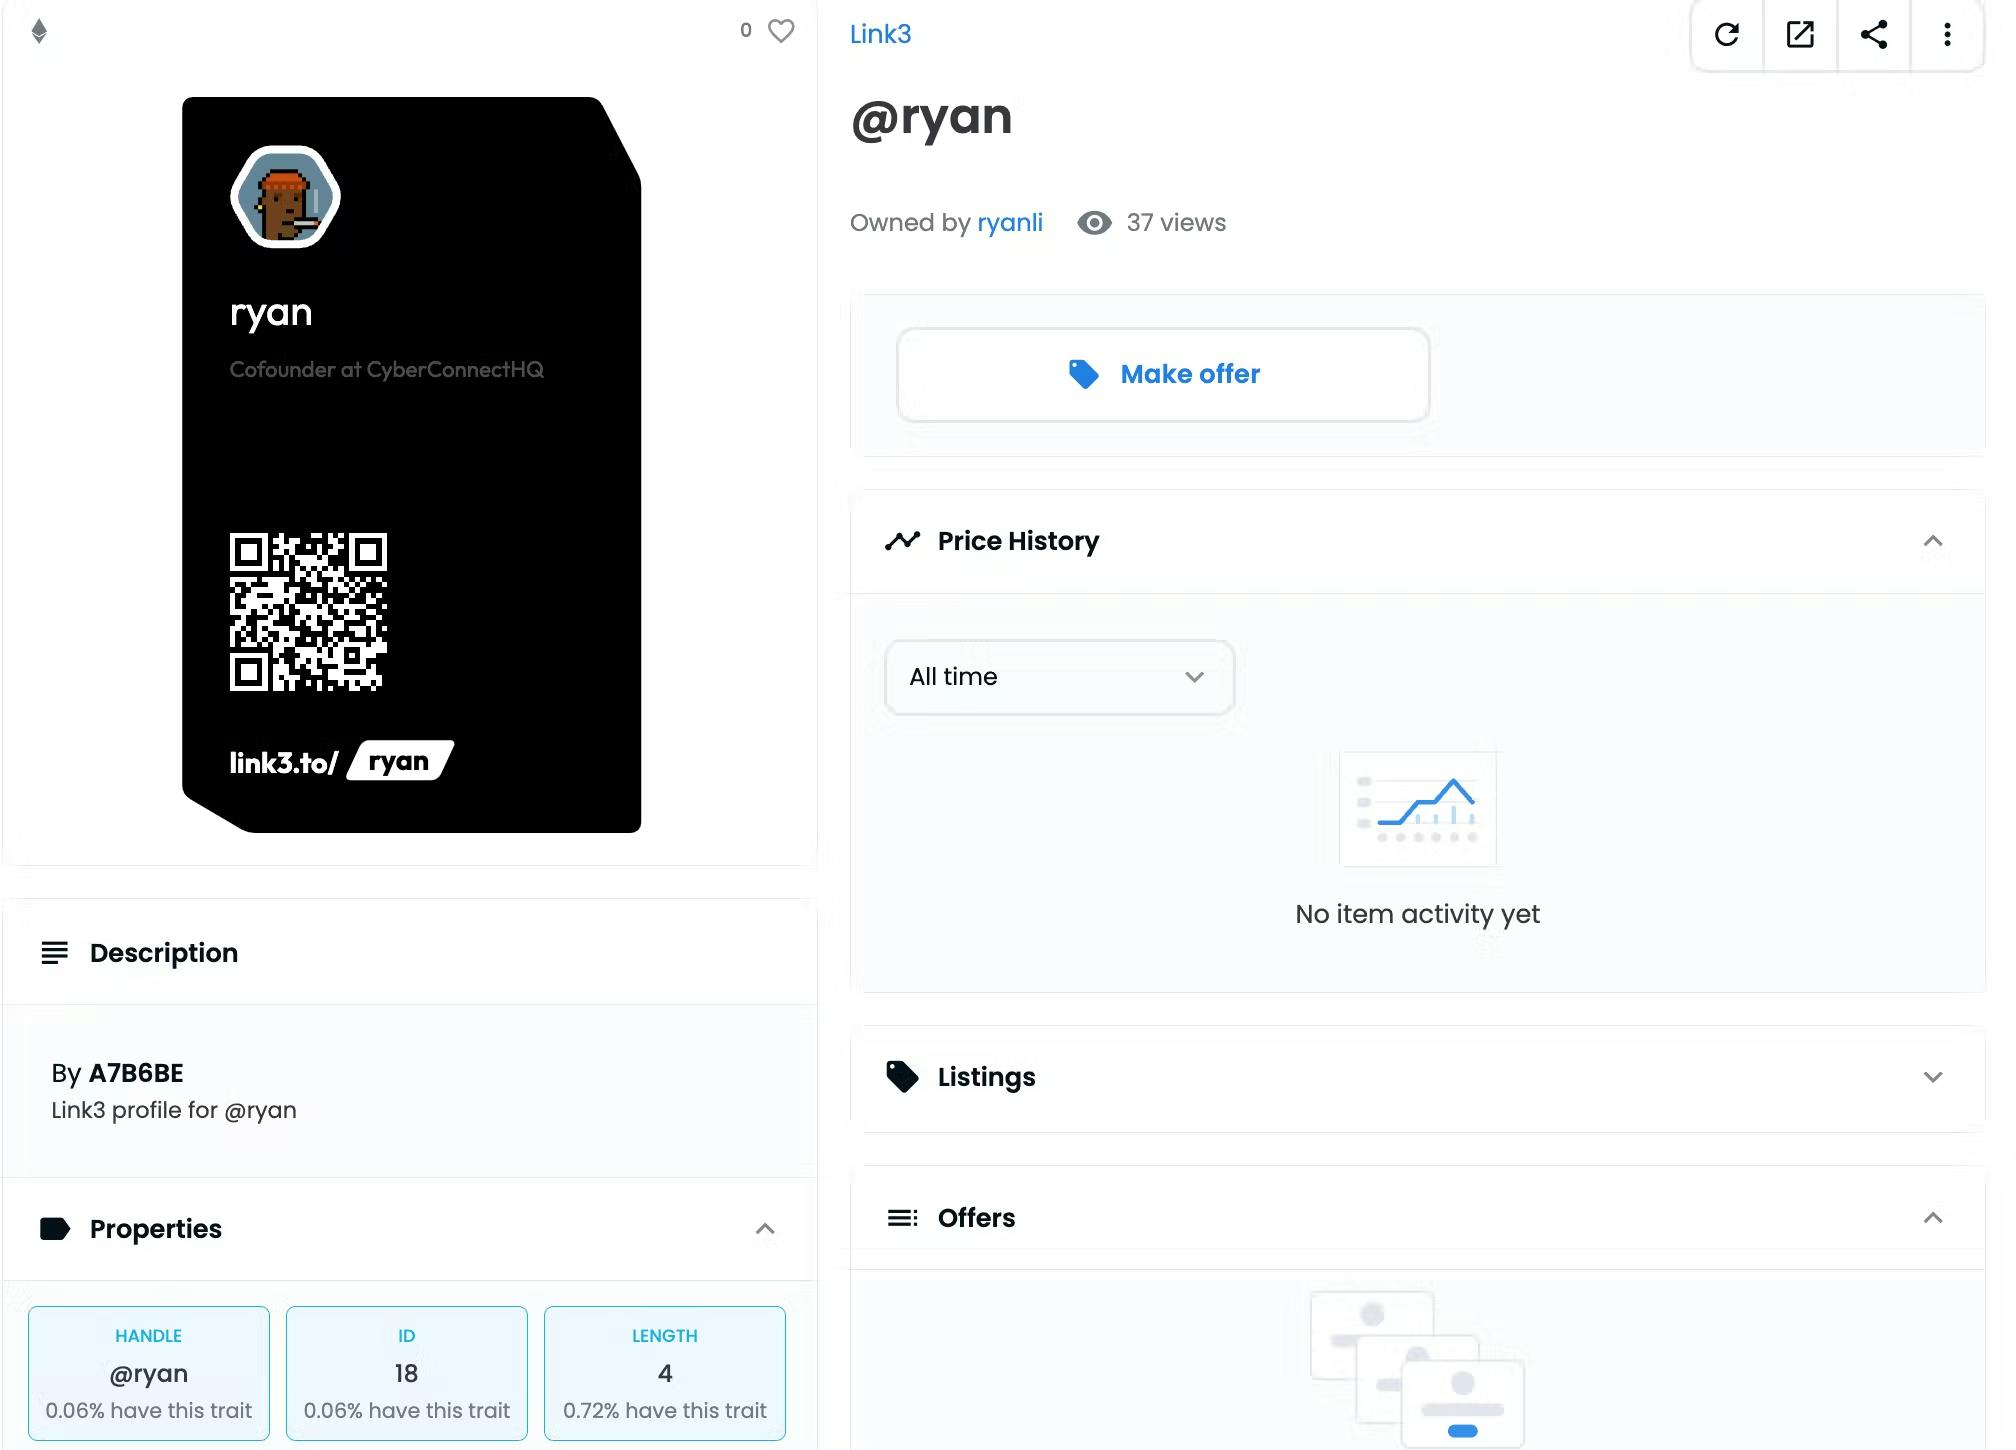
CyberConnect profile serves as the entry point for every on-chain action and therefore, it is just like a profile in Web2 social applications. Each profile is an ERC-721 NFT and owns its paid subscribers and content. Every user could also have multiple profiles. Currently, the protocol allows people to mint profiles only through Link3 on Ethereum while minting profiles is free on testnet.
Content
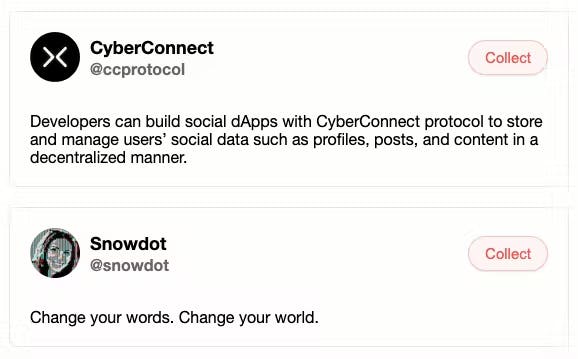
User-generated content such as posts, videos, and publications. We also look at how people are engaging with such content through innovative smart contract-enabled ways like funding public goods, donating for charity, and governance. To build trust and authority, each content is tied to a profile, so users will need to create their profiles before they can create contents. Each content can be collected based on dynamic rules.
After creating their profiles, users can start building their on-chain social network by creating “content”. In CyberConnect, content could be anything that a user creates, issues, or builds. This design enables dynamic use cases like:
- Creators posting short-form content on video platforms,
- Event organizers issuing reward/recognition badges for participation, or
- Universities issuing verifiable credentials like diplomas for students.
The protocol also offers Collect Middleware Contracts. With that, every profile owner can include custom functionality on ‘collecting’ conditions (e.g. pay to collect or hold NFT to collect) and token nature (e.g. transferable or non-transferable).
Subscribe & Follow
While Follow represents a directed relationship from one address to the other, Subscribe represent the relationship from one address to a profile. Profiles have the ability to being subscribed to with payment attached. Each user after creating a profile could set up rules for subscription. Each profile could specify the amount of token needed to pay for becoming a subscribers to that profile and subscribers will obtain a subscriber NFT.
Middleware
To enable dynamic rules involved in profile creation, collecting contents and paid subscription, CyberConnect protocol provides various middlewares. There are three types of middlewares, ProfileMiddleware, CollectMiddleware and SubscribeMiddleware. They are smart contracts with logic executed before and after profile creation, collect , subscribe happens.
Subscribe Middleware
SubscribeDisallowedMwSubscribing to a user is disallowed.SubscribeOnlyOnceMw- Users can subscribe only once to this profile.SubscribePaidMw- Users pay a certain fee in ERC20 token to subscribe to this user.
Collect Middleware
CollectDisallowedMw- Collecting the essence is disallowed.CollectOnlySubscribedMw- Only subscribed profiles can collect the essence.CollectPaidMw- Users pay a certain fee in ERC20 token to collect the essence.CollectPermissionMw- Users can collect the essence only if they have a valid signature from the signer.CollectMerkleDropMw- Users can only collect an essence using the correct merkle proof.
These are the all main features & concepts of CyberConnect. Now let's start with building social dapp.
Build SBT/NFT Issuing App
Overview
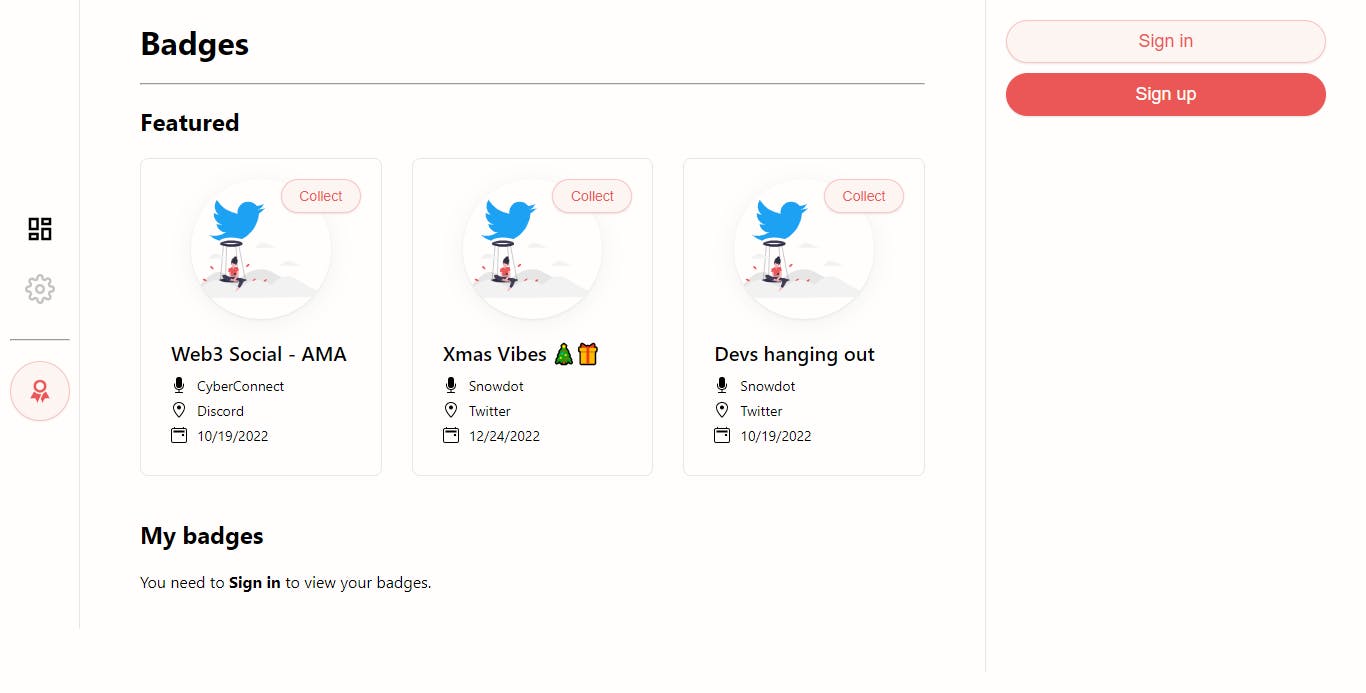
This guide will teach you how to create a social application where users can create on-chain badges that can be linked to an event. Once users have set up their profiles, they will be able to create badges for an event and attendees will have the ability to collect them by attending that event.
This is a basic example with the sole purpose of going over core features and highlighting how easy to implement them. Later on you can extrapolate and get creative with your project to create different use cases that would truly make your app stand out. You can find more detailed steps in our Developer Center.
Prerequisites
For this tutorial:
- Make sure that you have installed Node.js on your computer and MetaMask extension in your Chrome browser.
- We are using Next.js for building the app.
Quick Setup
- Clone the repo https://github.com/cyberconnecthq/cc-badge-app.git and run the following command in your terminal.
- Install all the packages that are necessary to start the development server:
npm installoryarn install. - To start the Local development server run the command
npm run devoryarn dev
Live demo
This is the link for the live version of the app you are about to build: https://cc-badge-app.vercel.app/
Let's get started with building an application where users can issue and collect badges!
Authentication
- Login to get an access token for authentication purposes. This can be accomplished by sending out two GraphQL mutations:
LoginGetMessageandLoginVerify.
const messageResult = await loginGetMessage({
    variables: {
        input: {
            address: address,
            domain: DOMAIN,
            chainID: CHAIN_ID,
        },
    },
});
const message = messageResult?.data?.loginGetMessage?.message;

// Get the user's signature for the message
const signature = await signer.signMessage(message);

// Authenticate
const accessTokenResult = await loginVerify(...);
const accessToken = accessTokenResult?.data?.loginVerify?.accessToken;
- Set up the
ApolloClientso that whenever you make a request, it will pass theaccessTokenin the HTTPAuthorizationheader.
...
  return {
      headers: {
          ...headers,
          Authorization: accessToken ? `bearer ${accessToken}` : "",
      },
  };
...
Contract ABI
To interact with an external smart contact from our application, we need:
- The contract addresses.
The contract ABI (Application Binary Interface) - ABI is a way to interact with a smart contract directly from the user's wallet. Check for more details ABI Specifications.
You can find all deployed contract addresses in the cheat sheet. It’s important to note that
Link3 Profile (Proxy)is the one you will be interacting with for most of your actions such ascreateProfile,collect, andsubscribe(all example transactions in this tutorial will interact with this contract).
// Goerli Testnet
const profileProxyAddress = "0x57e12b7a5f38a7f9c23ebd0400e6e53f2a45f271";
- You can find
Link3 Profile (Impl)contract's ABI on Etherscan (Goerli Testnet) and copy & paste the file for further usage

Create a Profile
- Set up the metadata so that your profile information can be indexed and displayed properly on marketplaces like OpenSea.
const metadata: IProfileMetadata = { name: name, bio: bio, handle: handle, version: "1.0.0", }; - Send our ‘create profile’ transaction. The
preDataandpostDataare used for middleware and we can safely ignore them for now.
const tx = await contract.createProfile(
    {
        to: address,
        handle: handle,
        avatar: avatar,
        metadata: metadataStr,
        operator: PROFILE_NFT_OPERATOR,
    },
    // preData
    0x0,
    // postData
    0x0
);
Create a Badge
In this section you'll learn how to implement the Register Essence feature. We call essence everything that is content and related to it. Yes, it's also a NFT. It can take the form of a badge, a post, or something completely different that's up to your imagination.
When the user creates an essence, a non-fungible token (NFT) is only being created. The minting and transferring of the NFT is being executed in the collect essence process to the user that collects it, which you'll learn all about in the upcoming section.
We use the terms SBT and NFT interchangeably in this section because a SBT is still a NFT, the only difference being that is non-transferable. In this example the essence will take the form of a badge and will be issued as a SBT. Feel free to change this since these badges can be transferable or non-transferable.
INFO
The underlying difference between a Non-fungible token (NFT) and a Soulbound token (SBT) is that the SBT is a non-transferable token.
- Metadata Schema
You can think of the Essence Metadata Schema as a standard template used to store data related to content and the NFT holding that data.
You'll notice that some of the fields are following the OpenSea Metadata Standardsand this is to ensure that the NFT will be displayed properly on OpenSea and other marketplaces.
Below are all the fields for the Essence Metadata Schema accompanied by a short description on what they represent.
const metadata: IEssenceMetadata = {
    metadata_id: uuidv4(),
    version: Version.V1,
    app_id: "cyberconnect",
    lang: "en",
    issue_date: new Date().toISOString(),
    content: post,
    media: [],
    tags: [],
    image: nftImageURL ? nftImageURL : "",
    image_data: !nftImageURL ? svg_data : "",
    name: `@${handle}'s post`,
    description: `@${handle}'s post on CyberConnect Content app`,
    animation_url: "",
    external_url: "",
    attributes: [],
};
- Upload the metadata to IPFS to get the hash
const ipfsHash = await pinJSONToIPFS(metadata); - Create the typed data, let the user sign it, and relay the transaction
This step is exactly the same as subscribing to a profile except for the typed data field. We are using CreateRegisterEssenceTypedData when creating a post.
const typedDataResult = await createRegisterEssenceTypedData({
    variables: {
        input: {
            options: {
                chainID: chainID,
            },
            /* The profile id under which the Essence is registered */
            profileID: profileID,
            /* Name of the Essence */
            name: "Post",
            /* Symbol of the Essence */
            symbol: "POST",
            /* URL for the JSON object containing data about content and the Essence NFT */
            tokenURI: `https://cyberconnect.mypinata.cloud/ipfs/${ipfsHash}`,
            /* Middleware that allows users to collect the Essence NFT for free */
            middleware: {
                collectFree: true,
            },
            /* Set if the Essence should be transferable or not */
            transferable: true,
        },
    },
});
A couple of things to note:
We used the
attributesfield to store information about the badge (or the event linked to it) and followed the OpenSea Metadata Standards to ensure that it will display properly on marketplaces;We passed as
middlewarethecollectFreemiddleware to will allow users to collect the post for free. We won't dive into middlewares in this guide but you can always check out the Middleware section;We set
transferabletofalseso that the NFT won't be transferable once it ends up in the user's wallet address;
Collect a Badge
The approach is similar to the approach from Create a Badge. We will be using CreateCollectTypedData when collecting a post. For more details- Collect a Badge
const typedDataResult = await createCollectTypedData({
    variables: {
        input: {
            options: {
                chainID: chainID,
            },
            profileIDs: [profileID],
        },
    },
});
If the collect process was successful, you can verify the transaction hash on goerli.etherscan.io.
CONCLUSION
GREAT🎉!!! We have built a Badge app. If you want you can build your own application that issues badges. Hope it provides a good understanding of CyberConnect concepts and use cases while learning and building on CyberConnect.
Also, do check out the resource section if you want to deep-dive or you are curious about CyberConnect.
Join our Discord if you have any questions!
